What to consider for a product photo shoot
By: Brent Morrison
January 10, 2018 | Reading Time: 3 mins
Every company should invest in professional photography for their marketing collateral. Strong visuals have higher impact and establish a professional look for your brand. After working with many companies and their photography, these are some key factors you’ll want to keep in mind before you start a photo shoot.[/intro]
Plan your photo shoot
Create an inventory of the photos you want. This could include different angles, locations, or specific products. Having a game plan will help ensure you get the shots you need while not wasting valuable time or incurring additional costs. This will also help the photographer plan ahead and provide you with an accurate quote so you can stay within budget.

Educate your photographer
Let the photographer know what the photos are being used for. Will they be for a website? A stand-up banner? Or both? This is especially important for very large collateral like stand-up banners or trade show booths. Every photographer uses different equipment so you want to make sure they can shoot photos that will be large enough. The last thing you want is to invest in a photo shoot, only to discover that your new photos are not usable for the medium.
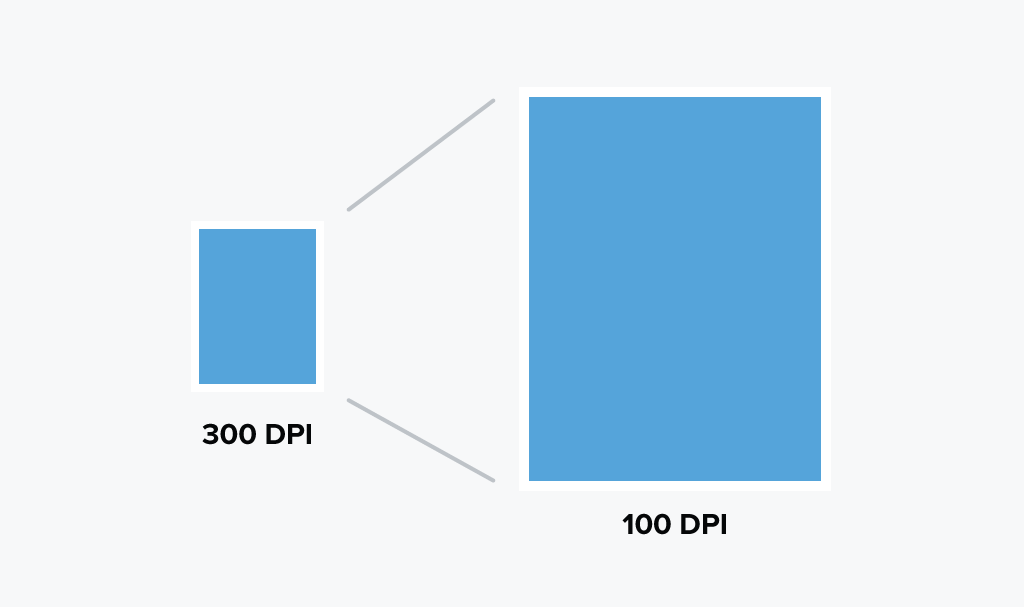
TIP: For larger marketing collateral like stand-up banners, they only require 100 DPI as they will be viewed from distance. This will allow you to get some extra size out of your photos.

Cropped vs uncropped
Product shots that are zoomed in with interesting angles can be eye-catching but they also limit what you can do with them. If a product shot has two or three sides cropped off in the frame, it limits where you can place it. Getting photos of the entire product will give you more options for placement and you can manually crop them yourself.

Portrait and landscape
Get photos taken in both portrait and landscape. Having both orientations will give you the most flexibility for different types of collateral. For example, a portrait photo will work better with a stand-up banner due to their tall and skinny orientation. A landscape photo is better suited for a website banner.
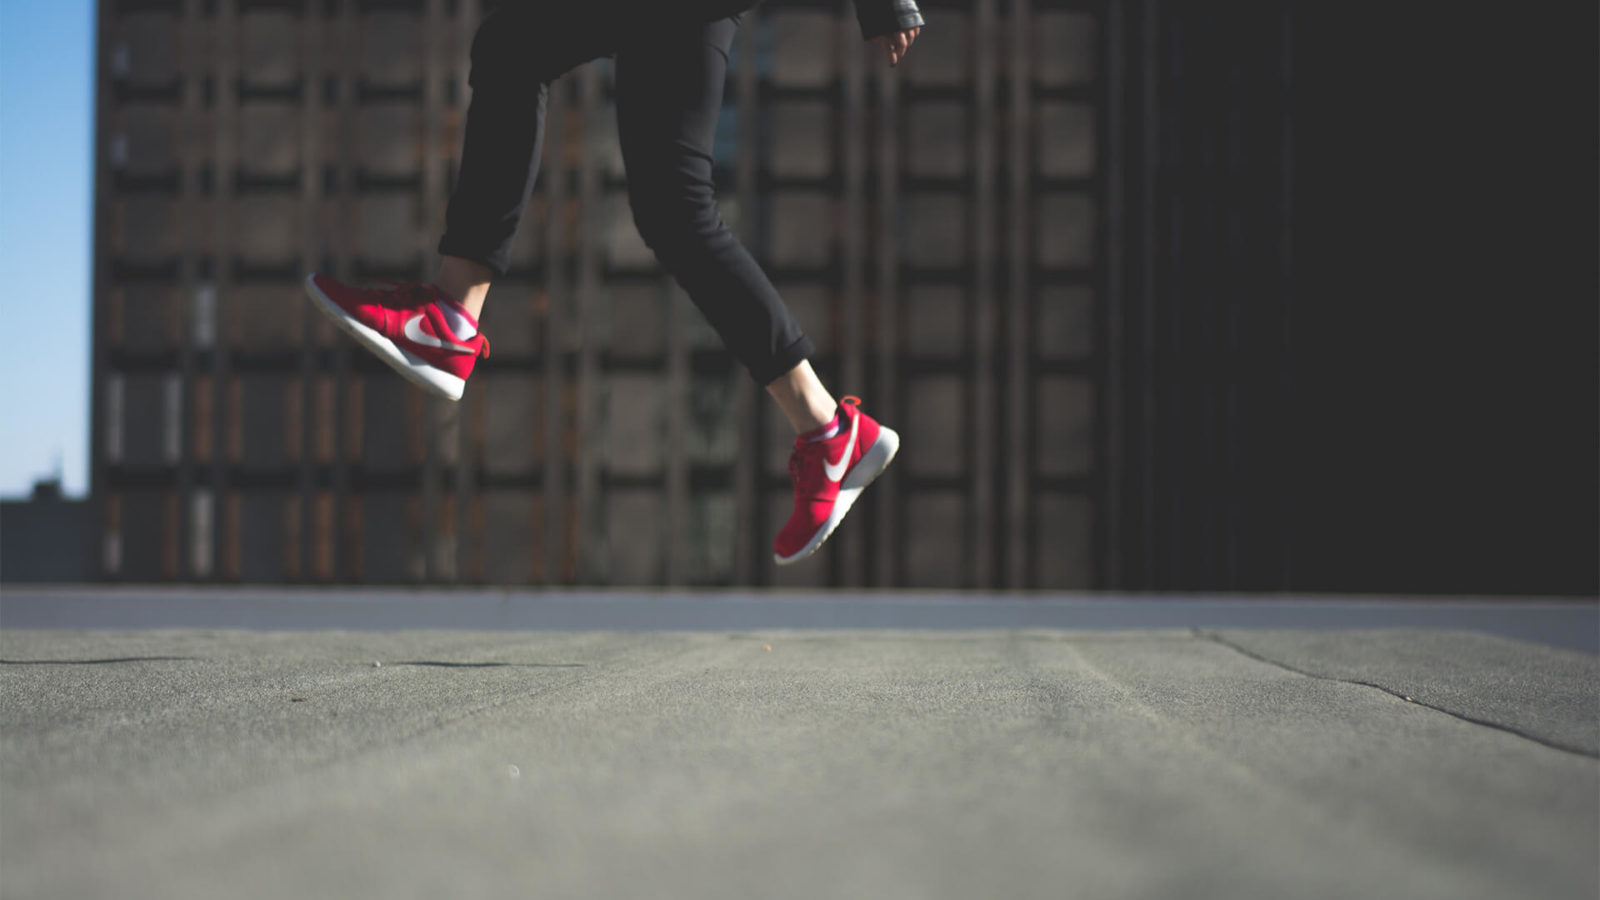
Tip: For website banners, it’s best to take them in a wide format or 16:9 ratio. Take the photo from a distance so there is more background surrounding the subject. It will make it easier for cropping on skinnier banners.

Files from photographer
Once the photo shoot is finished, it’s important to get the appropriate files from your photographer. The photos you take will need to be edited or modified at some point for marketing collateral. Make sure you get both TIFF and JPEG files from your photographer. JPEG’s use compression to keep their file size low so everytime you save over of the original, it will decrease the image quality. TIFF files will allow you to edit and resave your photos without affecting the quality of your image.

